AECP - Final Challenge Level 1
Soo here it is my final challenge for Level one. It took me some time to finish all the cards but here is the result.😅
The task was to create a set of cards for him and her. The cards should be similar, but not the same. I decided to choose one color scheme for each.
Then I decided on different elements and techniques, each appearing several times.

For the different card sets I chose the same designs and techniques - but different colors and different motifs (stamps/background die).

I also decided to use "Happy Birthday" as the sentiment on all the cards. Since these sets are supposed to be a gift. in Switzerland not everyone speaks perfect English, but everyone understands "Happy Birthday"😏
I stamped all sentiments in a different style. For this, the Birthday Builder Stamp Set is just perfect. But I always used the same color to make it more uniform.
So, let's take a closer look at the sets. First the set for the men.

As a color scheme I have chosen green - brown - beige.
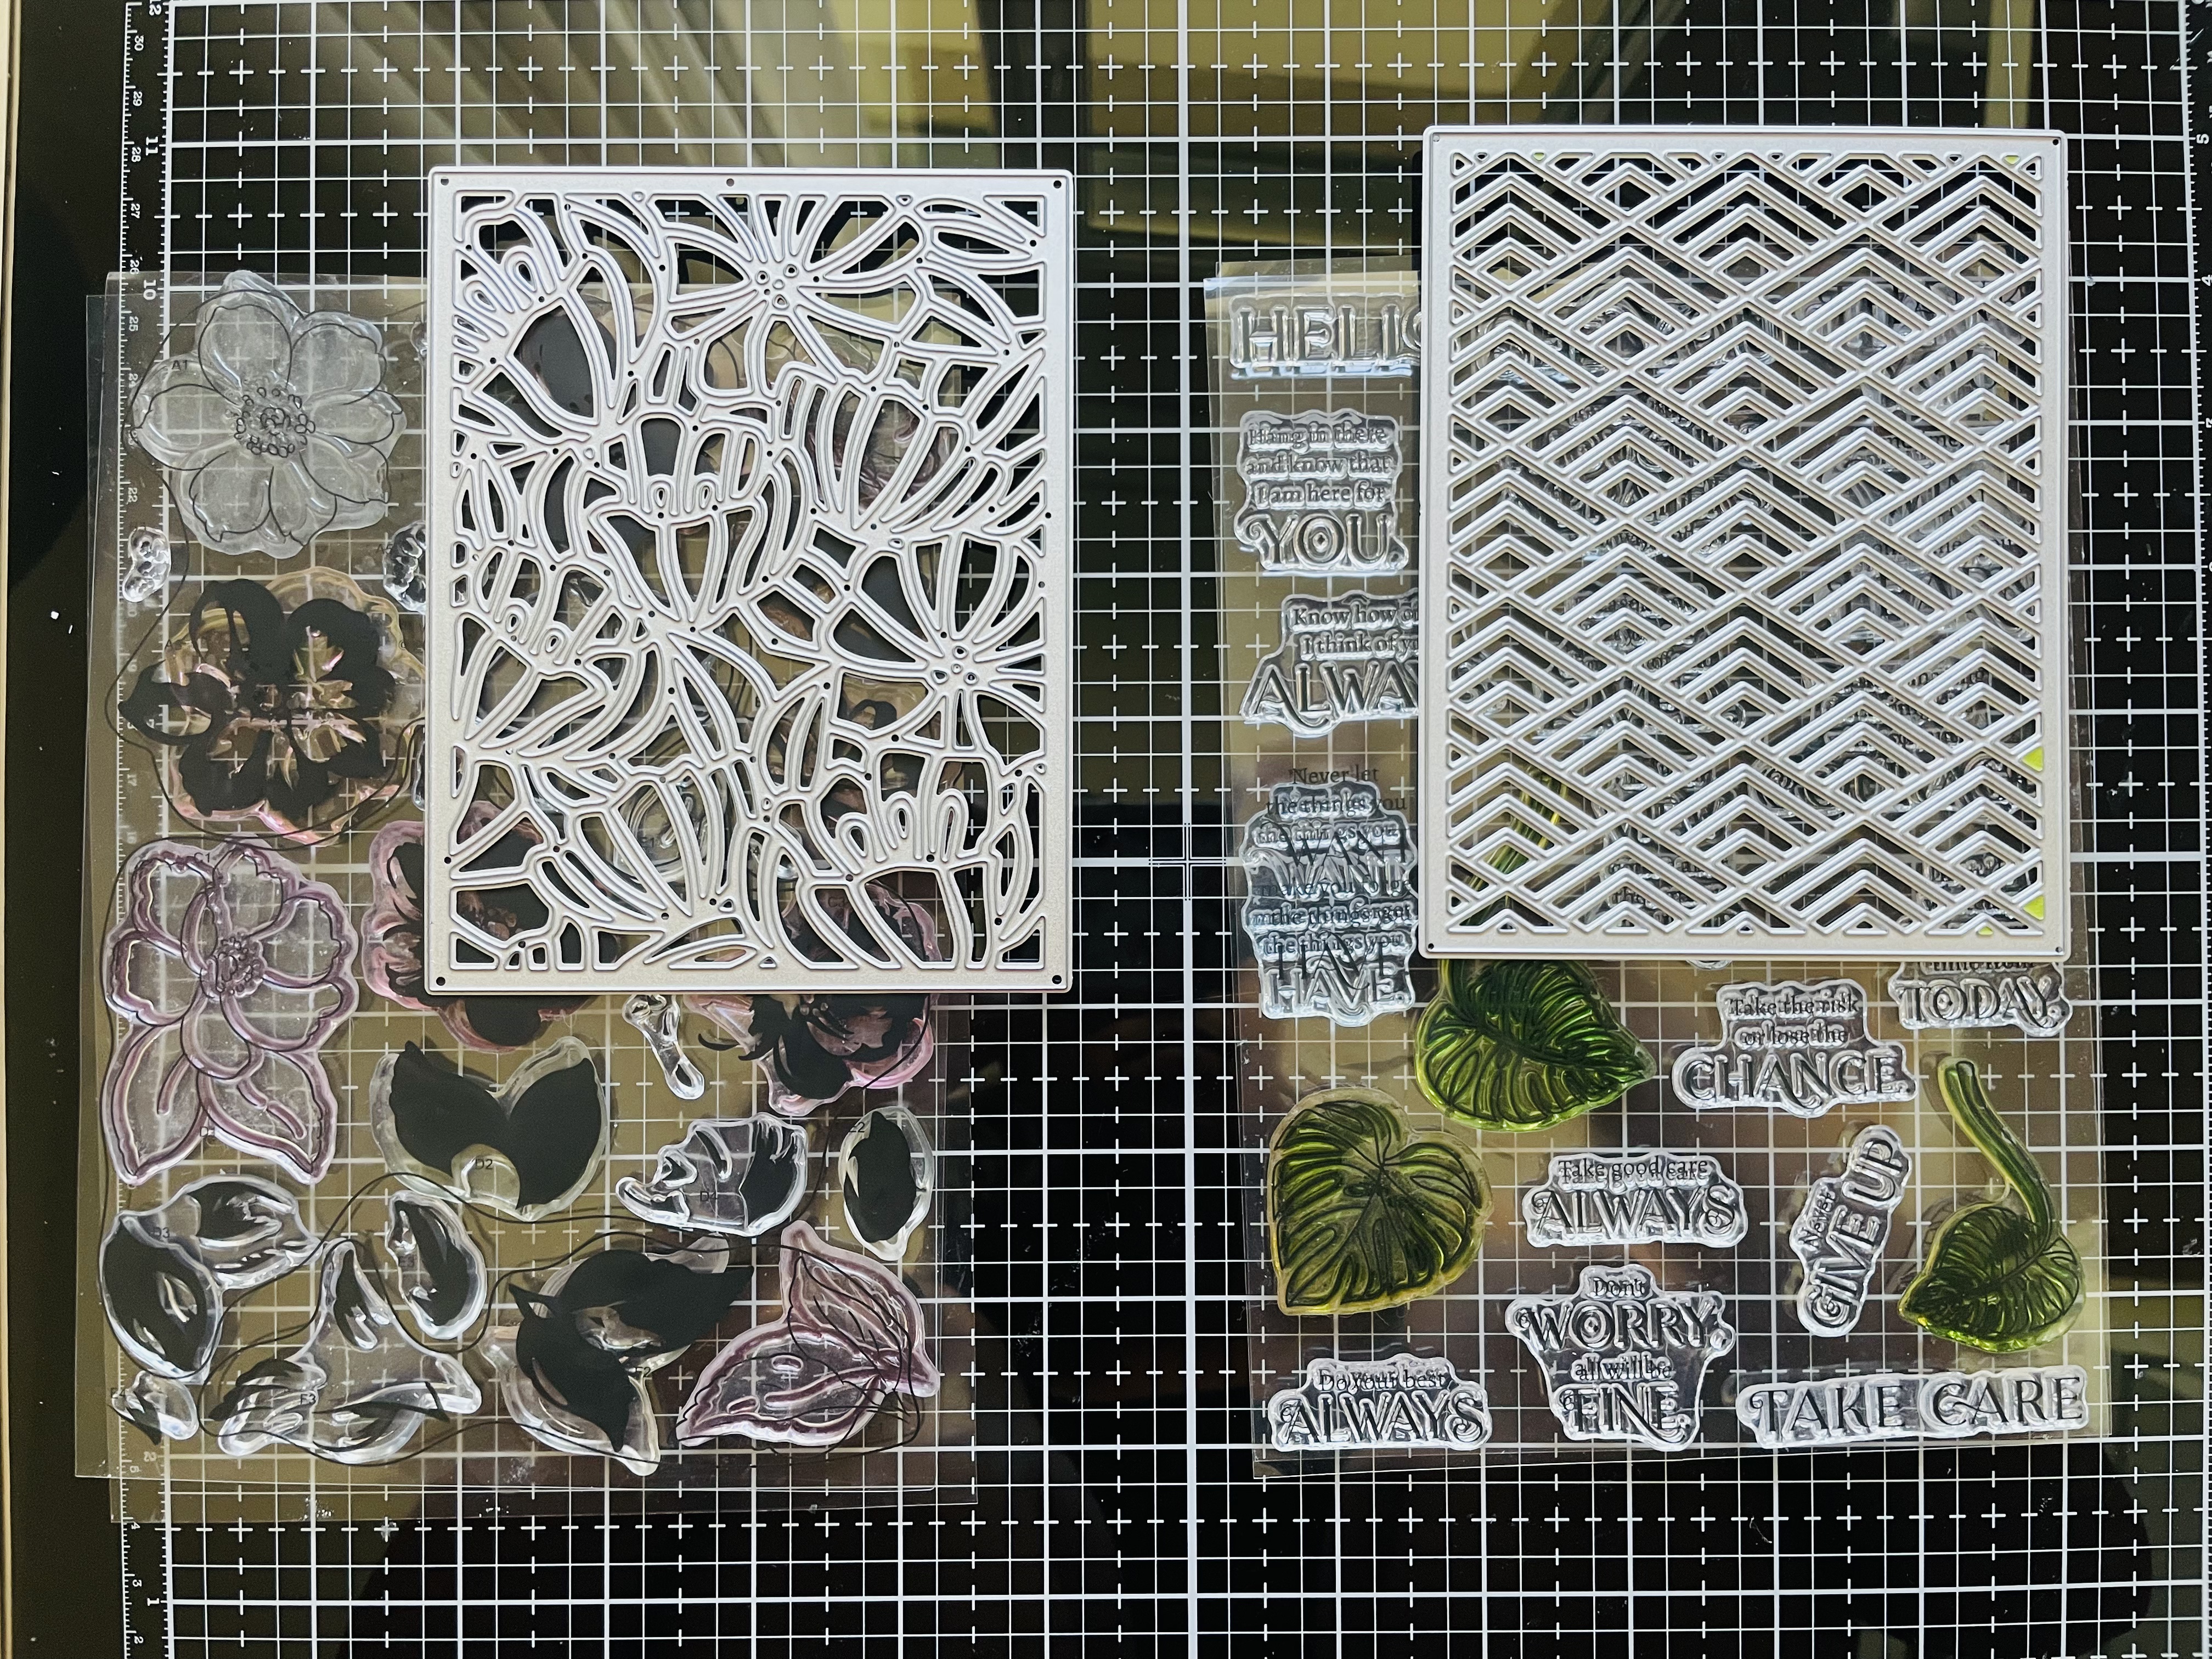
As a stamp set, I have taken Monsteras & Quotes. The leaves are beautiful and just always fit. I thought so the cards get something natural.
The techniques are:
- Easy Die Cutting Techniques
- Stencil Techniques
- Clean and Simple
For the first card I made a background with the Watercolor Stripes Stencil. Then I added a few of the leaves (of these I prepared a bunch in advance so I didn't have to keep making new ones while crafting).

The border I made with pierced die. This is something I repeated on most of the cards to make it look more uniform. Then I added the Sentiment and finished my first card.

I chose the same background for the next card. But this time I die cut a square and added then the leaves and of course my sentiment. The border I have cut out again with a piercing die.

For my third card I used the same square die, but this time I created a mask with it. I stuck this in the middle of the card and stamped the monsteras repeatedly around it and colored them with the stencil.


On my next card I changed things up a little bit.
This time I took the Stacked Diamond Cover Die and die cut it from brown cardstock. Certain parts of it I cut out and change the look a bit. Then I inserted green parts with the inlay technique. Then in the middle again stamped my sentiment, always in brown, but each time in a different style. I also pierced the piece that I inserted so that the cards are more similar in style.


Then I stamped my sentiment. But the card has somehow still looked a little too simple. Then I decided to insert small wood elements on top. I find these fit great and take the natural look again.
---------------
This would be my first set for the men. For the ladies I decided to use the same design and technique. Only I have exchanged the stamp set and the background die. Also, I have decided to take another component from the classes.
Instead of clean and simple I thought I will add some shine for the ladies. So here are my techniques:
The techniques are:
- Easy Die Cutting Techniques
- Stencil Techniques
- Let it Shine
As a color scheme I have chosen pink - yellow - green.

For my first card, I again made a background with the Watercolor Stripes Stencil. This time with pink.

After that I pierced the edge. I have prepared as with the first card set most of the flowers in advance in different colors and sizes, so I could just see which that fit and the remaining flowers I can then use for another project. Finally, I stamped Happy Birthday on it.

To add some shine, I heat embossed my sentiment with clear embossing powder and added some glitter on the flowers with a glitter pen.
For my next card, I used the same background again, but this time I added the square again. Also, here I stamped my sentiment on the square and embossed it with clear embossing powder. Then I arranged the flowers nicely around the square and brought them to shine with a glitter pen.

For my third card, I die cut the square again and used it as a mask. Then I stamped all the flowers around it. This time I had to create an extra mask for the flowers so I could stamp the leaves. I stamped the flower on masking paper and cut it out. After that I could stamp the leaves without any problems.

Then I stamped my sentiment again on a smaller square and heat embossed it with clear embossing powder. To finish my card I made again the piercings around the edges so it has the same design as the other cards.

On my next card I used again a Background Die. Put this time I didn’t use the inlay technique. Instead, I made an impression in colored it with blending brushes and ink.

It didn’t had to be perfect, because on the end I layer the background I die cut from withe cardstock over it. My sentiment I added on a withe stripe and heat embossed it again with clear embossing powder.

For my last card I used the same background die again and made an impression on pink cardstock. This somehow looked to pale to me, so I added some Pink ink with a brayer over it. For the shine on the card I created the stripe on the side from glitter cardstock.

Then stamped the sentiment and assembled my flower on the card. I decided to add some little yellow stones on the flowers. I think they look nice without distracting to much from the focal point of the card.
Now it’s time to wrapped this as a gift. We also need to take some recycled elements. I actually wanted to add some confetti’s I had from a balloon. But they somehow were always too distracting on the cards. So, I decided to take a bow from some cuddle cloth I received.

I took a paper bag. Added the bow and some of the elements I used on the cards. Finally I put a tag where I wrote Handmade on it.


Very nice set, Adriana!
ReplyDeleteThank you so much!
DeleteAbsolutely gorgeous sets. I love the masculine set a lot more, hands down! I can see that you have the same layout for both the sets but the different colors and stamps have made a massive impact; it doesn't look like they are the same layouts. However, a bit more attention could have been given to the packaging of the cards, that would have ben gold! Thank you so much for sharing your gorgeous work with us and linking it to the AECP assignment gallery.
ReplyDelete